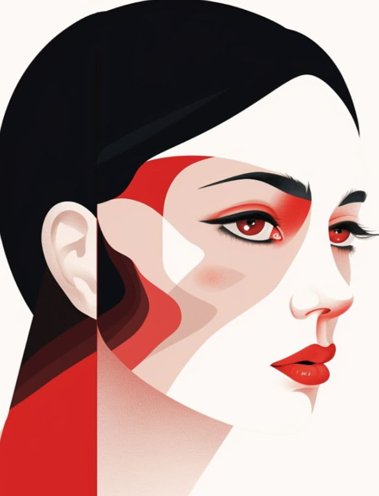
The Definitive Guide on How To Apply Eyeshadow

Wondering how to apply eyeshadow like a pro? From smoky eyes to cut creases, mastering a new eyeshadow look can be a real challenge – even for those with years of experience. We spoke to

What you need to prepare before applying eyeshadow
Before you start, prep your skin, even your eyelid. After doing skincare steps like moisturiser and sunscreen, don't forget to use a primer like
How to Put on Eyeshadow
Simple eye makeup
Step 1 - Base: Choose the lightest colour in your eyeshadow palette and apply it all over your eyelid with a
Step 2 - Enhance: Bring more colour to your eyelid with more depth hue. You can add it to the half end of the eyelid for a deeper look.
Step 3 & 4 - Add sparks: If you want a bolder look, select a darker tone of colour and apply it to the near end of the eyelid. Select a sparkling colour and apply it over the eyelid for a more glamorous look.
The Classic Smoky Eye
One of the most popular go-to eyeshadow looks is a smoky eye, as you can create one in a range of colours and intensity to suit your eye colour and shape best.
Step 1 - Use a kohl pencil
“The most simple and quick way to create a smoky eye is to use a kohl pencil along the upper lash line and blend it upwards into the eye socket before softening the edges with a blending brush,” says Nguyen-Grealis. You can use Clarins
Step 2 - Build up colour
“After you’ve applied your base kohl colour to your lid, build up the colour with the same pencil until you achieve the desired depth of colour,” she adds. “The secret is to follow the natural eye shape, and if you require a lift, slightly blend past the socket line to open the look. Adding a contrasting eyeshadow or a shade lighter on the edge with a blending brush can help with the blend.”
Step 3 - Add dimension
“Apply a similar coloured shadow on top of the kohl liner to set it in place, as well as to add more intensity and hold to the shadow,” Nguyen-Grealis recommends. Repeat this step until you are happy with the boldness of your look. You can also add a subtle shimmer or glitter over the centre of the eyelids to add extra shape.
Step 4 - Work on your undereye
Now, it’s time to focus on your undereye. “Use the same kohl pencil lightly along the lower lash line, before smudging it out with your blending brush. This will open the eyes and create an extra-smouldering vibe.”
Step 5 - Add liner
It’s liner time! To finish, smudge a dark eyeliner in your waterlines into the lashes. Then, use plenty of
Cut Crease Eyeshadow
Want to know how to apply eyeshadow to hooded eyes? The cut crease is the perfect playful eyeshadow look for which any colour will work. “It’s all about the application and shape that it creates,” says Nguyen-Grealis. “Think the late ’80s or supermodel pin-up era.”
Step 1 - Add a wash of colour
“Add a light wash of colour all over the eyelid before applying a darker colour, specifically into the eye socket. This will frame the eye, especially on the outer edge, and it should be a clear, bold line that enhances the sockets,” Lan says.
TRY:
Step 2 - Blend
Lan recommends following your lash line before blending upwards towards your brow to achieve the perfect angle. “Follow your upper lash line to the halfway point, then blend the liner up at a 45-degree angle into the outer sockets, a bit like a ‘V’ shape. This will create a ‘lifted’ illusion,” Nguyen-Grealis explains.
Step 3 - Apply liner
Follow up with a
Eyeshadow Tips
Tap away excess shadow
The best way to avoid smudging and fall out? Use less product and layer it up. Make sure to tap excess product off your brush before application.
Use a primer
To prevent creasing, Lan recommends using a cream base primer or a neutral shade under your eyeshadow to help stop creasing and increase staying power.
Carry a cotton bud
If in doubt, carry a cotton bud! This is the easiest solution for touch-ups on the go or a midday makeup refresh.
Lighten up on colour
If your eyeshadow becomes too heavy, try applying a lighter colour to the inner corners and centre areas of the eyelids. This will create an instantly lifted and much lighter effect.
Powder is your best friend
“Add a dusting of


